When hanging pictures, shelves, or any heavy object on your walls, it is important to know how to properly drill into a stud. A stud is a vertical framing member in a wall that provides support for the structure of your home and allows you to safely hang objects without causing damage.
In this informational guide, we will discuss the steps and tools needed to successfully drill into a stud.
Step 1: Locate the Studs
The first step in drilling into a stud is to locate them. There are several methods for finding studs, including using a stud finder, tapping on the wall to listen for a solid sound, or looking for nail heads or electrical outlets that are typically attached to studs.
Once you have identified the general location of the studs, use a pencil to mark the edges of each stud.
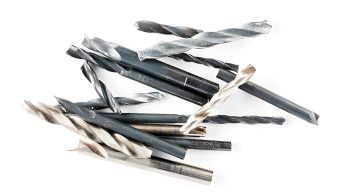
Step 2: Choose the Right Drill and Bit
The next step is to select the appropriate drill and bit for your project. For drilling into wood studs, a standard cordless drill with a normal twist bit will suffice. However, if you are drilling into metal studs, a high-speed steel (HSS) bit or cobalt bit is recommended.
Step 3: Measure and Mark the Spot
Before drilling, it is important to accurately measure and mark the exact spot where you want to drill. Use a tape measure to determine the desired location and use your pencil to draw a small “x” at the center of your measurement. This will ensure that your drill bit stays on target and prevents unnecessary holes in your wall.
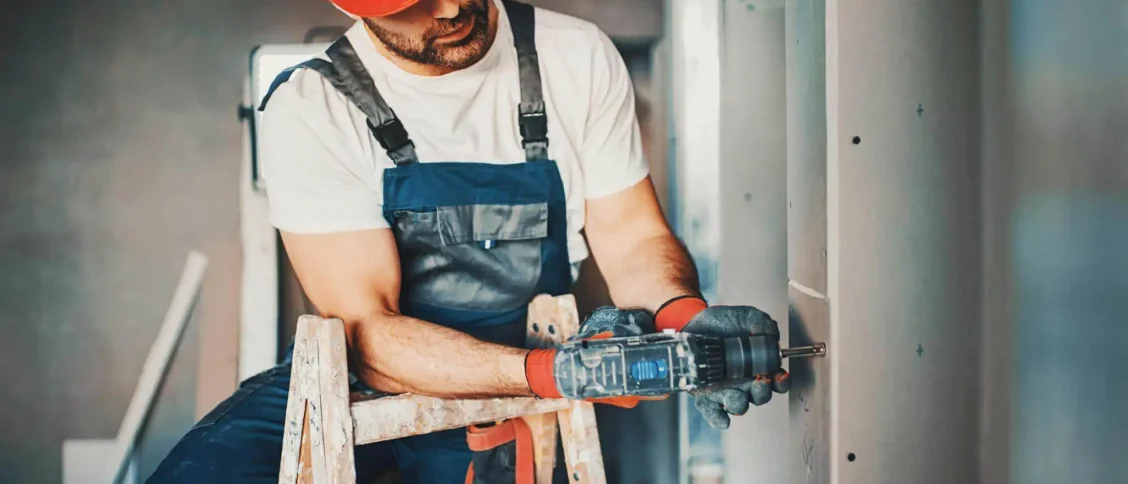
Step 4: Drill Into the Stud
Now it’s time to start drilling. Place your desired drill bit into the drill and position it in the center of your “x” mark. Start drilling at a slow speed, gradually increasing as the bit penetrates through the drywall and into the stud.

You may feel some resistance as the drill reaches the stud, but keep a firm grip and continue drilling until you have reached your desired depth.
Step 5: Remove Excess Dust and Debris
After drilling, use a vacuum or brush to remove any excess dust and debris from the hole. This will ensure that your screws or nails can be easily inserted and will also prevent any potential fire hazards if drilling into an electrical outlet.
Must Read: How to Cut Screws With a Drill?
Step 6: Hang Your Object
Once you have successfully drilled into the stud, you can now safely hang your object. Use appropriate screws or nails and make sure to securely attach them to the stud for maximum support.
Step 7: Finishing Touches
After hanging your object, you may want to fill in any visible holes with spackle or putty and paint over them to blend in with your wall. This will give your project a professional and seamless finish.
Step 8: Safety Precautions
When drilling into a stud, it is important to wear protective gear such as safety glasses and gloves. It is also crucial to turn off the power to any electrical outlets in the area before drilling.
Step 9: Alternative Methods
If you do not have a drill or are unable to use one, there are alternative methods for hanging objects on walls. These include using adhesive hooks, picture hanging strips, or toggle bolts. However, these may not provide the same level of support as drilling into a stud.

Step 10: Seeking Professional Help
If you are uncomfortable or unsure about drilling into a stud, it is best to seek professional help. A handyman or contractor can safely and efficiently complete the task for you.
Also Check: Best Chainsaw for Firewood
Conclusion:
Knowing how to drill into a stud is an essential skill for any homeowner or DIY enthusiast. By following these simple steps and using the right tools, you can safely and securely hang objects on your walls without causing any damage.
Remember to always measure and mark accurately, use the appropriate drill and bit for your project, and remove excess debris before hanging your object. Happy drilling!