Are you looking for a detailed tutorial on how to operate a drill press? to assist you in improving the quality of your woodworking projects? Do you require the kind of accuracy and precision that a drill press can only offer? If so, this blog post can be of assistance.
Using a drill press can seem daunting, but with the right technique and skill, you can create amazingly accurate holes like a pro! With just a few simple steps and safety precautions, your projects will be made easier with quality results every time.
We will go over and give tips on ensuring quality results. Read on to get started efficiently mastering this tool today!
We will discuss everything from choosing the right drill press for your project needs and how-to on setting it up, all the way down to tips on proper maintenance practices. With this guide in hand, operating a drill press becomes straightforward and simple. Get ready—it’s time to explore the joys of drilling with confidence!
How to Use a Drill Press Step-By-Step?
The drilling press makes it a handy tool when working in workshops or homes. This tool allows you to easily make holes in different types of material. Using drill presses is a question most folks have often asked themselves.
When using this kind of drill you must also recognize the hazards that may cause injuries such as electric shock noise, vibration, etc. In this sense, you have the option of not causing accidents at work.
1. Choose the Speed
The belt of this motor moves from one axle to another for speed adjustment. Depending on pulley size, drill speed is controlled. When you’re going for a quick spin, you can use the tiny pushy.
With different cuts, the speed should be determined. If you’d like more detailed details about a particular speed or use, please consult your manufacturer’s website.
Because of the metal structure drilling takes longer and requires more energy than the drilling machine. If you cut the bit rather than take it off, the metal may spin out and cause damage.
A drill press is a simple, one-job tool, right? Some might even call it “boring.” But as is often the case with tools, many tinkering minds have come up with clever ways to use this humble shop staple.

2. Set Your Speed
Adjust the rotation rate depending on the materials and hole diameter that you’ll drill. Normally most drill press set-up speed is modified by shifting the drive belt.
3. Changing the Drilling Speed
Generally adjusting the torque required to change a drill press requires adjustment belts. Open the upper and the lever will have two or three spools.
In a separate area on the upper shelf of a drill press is a map showing every possible configuration of a belt mounted on step pulleys. Several configurations give different speeds for the drilling press.
The handles are placed in the front of the drill press and at the back of the motor. When the handle is released the motor will be pulled back. It produces slack at belt edges allowing for the adjustment between pulleys.
4. Set the Drill Press Table for Perfect “Perpendicularity”
The drill machine cannot drill straight holes at a perfect angle to the wheel. Here’s a classic machine tool for a perfectly-sized restaurant:
5. No-Fuss Depth Setting
Mark your desired depth on a workpiece. Lower the spindle until it touches the mark before setting the stop depth.
6. Adjust the Table Height
Adjust tables and position them to an optimal height that suits you. The ring should be secured.
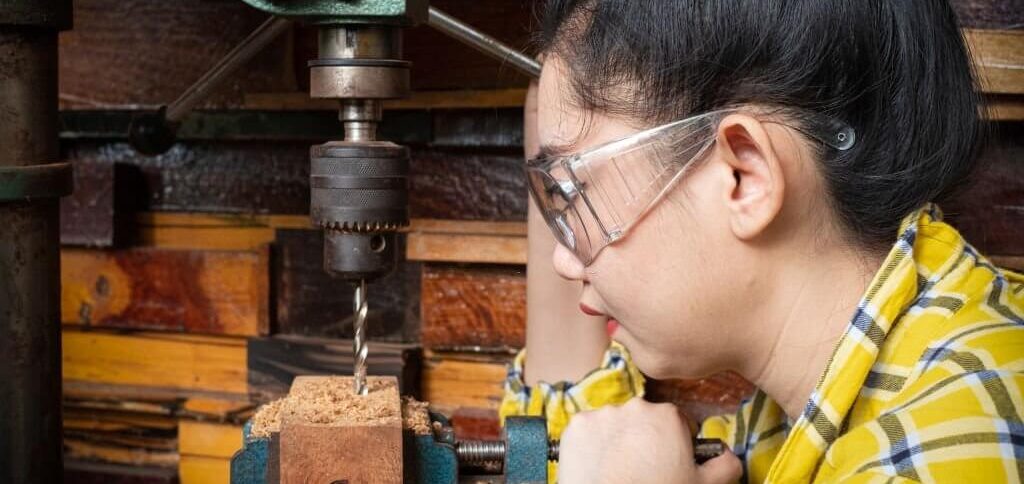
7. Use Your PPE
Keep yourself safe from potential hazards such as splinters, chips, etc. These include wearing a helmet, wearing protective goblets, and wearing a rubber glove (if available).
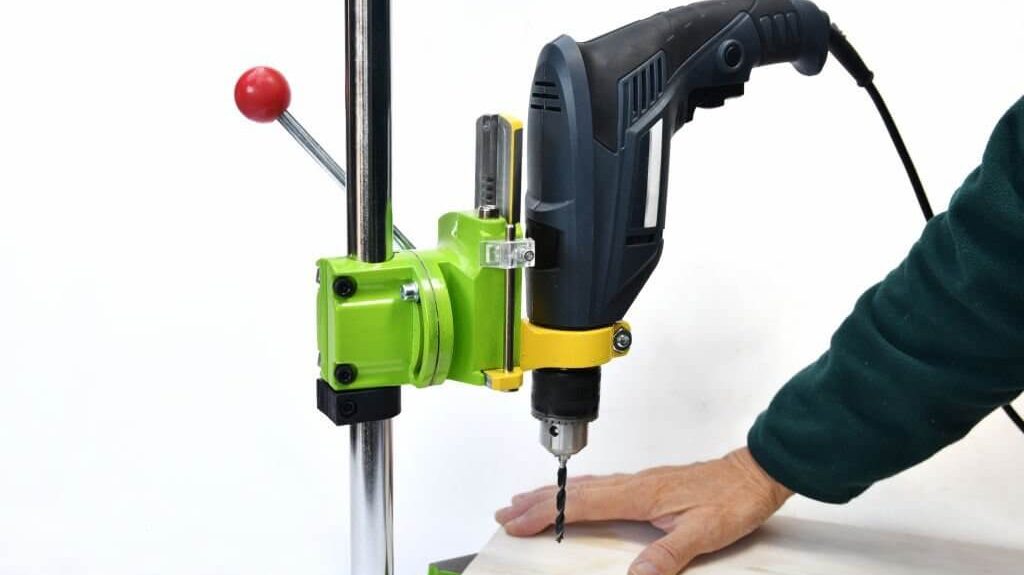
8. Add a Bigger Table for Better Support
Generally, drill presses are small and not perfect in woodworking so make an additional table larger. The thickness of the ring is usually between 2 to 3 inches. In the table below, MDF’s top layers form a framework.
Basically, there is a substitutable sacrifice insert where drilling is performed. It’s offset, so only an area is placed underneath the drill press chuck. This allows the use of the entire quadrant of the insert without having to replace the insert.
9. Make a Clamp Bar for Small Parts
For safe drilling of small components, you have to have the right tool. Clamps are an easy-to-use solution. Pre Drilled one screw hole in the middle Glue it in place where needed depending upon the dimension of the piece.
Its pivoting bar helps you squeeze a piece into the wall and keep your hands away from it. For dowels, put V-notches in bars that will prevent sliding. The hand clamp also works well in smaller pieces and also has a vertical point for the dowel.
10. How to Use a Drill Press Safely – Follow These Tips
- Always wear glasses for use with your drill presses.
- The other advantage of such tools is the fact that it is impossible to drill them yourself.
- Among the examples is the drilled circle cutter. You would probably do it using hand drills.
- It is neither challenging nor dangerous.
- After you are in an ambulance with an arm fracture you’re not going to repeat the procedure again.
- What is important when using a drill press are long hair and necklaces. Since your drill head is close to the spinning drill, your hair can easily get drained from it versus a drill.
Related: What Can You Do With a Drill Press?
How Does a Drill Press Work?
Every press has a single main element. The components consist of the head and engine mounted in the columns. The columns contain tables changing from left to right. Almost all are tilted in the direction, and the holes are inclined. On the heads, there are on/off switches, a screwdriver.
The lever can rotate in three directions and the lever can move in three directions. It is usually possible to move a drill chuck by three inches on either side. You can then drill three-inch holes with no change in table height. This is either pinned to or secured by hand.
What is a Drill Press Used For?
Let me explain the basic use of drill presses once I’m sure I understand how you should use them. The drill presses function as well as use the drill most effectively. Drill presses offer an alternative to conventional drills in achieving precisely sized holes of the same depth and diameter.
In addition, the drill presses’ rotational velocity can be adjusted as necessary. Tell me the best tool that is best for the job.
Eventually, your drill press chuck will wear out or it may take you a little while before you use the chuck key when pulling pieces from them manually. The old-fashioned ones were in use almost 30 years ago. The chuck will be replaced on floor models with the tapered drift tools that come with the press.
They are often lost. Make it a secure place. Replacement parts can be bought online at Amazon for just $10. You need another chuck too. It’s the kind of chuck I use with our drills. It also includes Morse’s Tapers Two on each end which goes through the drill column.
Tips for Choosing a Drill Press
Select criteria are based on the drill capacity for the instrument and the dimension of the piece to work. A simple use can also play a role. Firstly motor power is determined by the diameter of the hole that will need drilling. For example, we have a 650-watt engine.
It can penetrate a depth of 13mm. Nevertheless, with a 1 kilowatt engine, the drill will drill up to 30mm. For extra convenience, you can ensure that this product has the best quality. Tables with adjustable heads can be moved according to the requirement.
1. Parts of a Drill Press
You will need to know what the drill presses are for. The app can help you explain something about a part, offer help, or make a request for a replacement part. In this article, we discuss the most essential components of a drilling machine.
Drill chucks and grinding machines are stored here. It has a tiny hole for grabbing the wrench. This key is locked into the chuck and allows insertion and removal of pieces. The heads on your drill press are generally the JT33. Sometimes the drill press chuck just goes loose.
2. Radial Drill Presses
A radial drill press is composed of horizontal and vertical lines. This allows you to drill up to 36 inches for smaller bench-top models. It’s been an absolute longtime wish. This is expensive and it takes up very large spaces.
Always attach the tools with a firmly attached rim to avoid tipping over. But the advantage is the column never interferes, so it makes it possible to put everything into a radial press that you normally wouldn’t be capable of.
3. Full Size/Floor Models
Floor models are huge guys. They will drill holes into anything with little or no drilling. This means drilling holes that are dangerous to use. Floors have larger motors and larger chucks to drill deeper holes. This is a much wider throat space than the bench model, which allows for drilling into larger parts.
A drill press can have an estimated distance of 2 inches between the center of the column and the base of the cylinder (diameter). How much diameter do you need to fit a drill press? It can also be referred to as drill presses. Typical benches can range from eight inches to 12 inches in height.
4. Drill Angled Holes with a Hinged Table
If drilling at a shallow angle, you should not tilt your tables. Instead, create a hinged platform. Bring two sheets of MDF together with a piano-like hinge. The platform measures 3 feet long and Smaller located in a central location. Its axis measures 1-1/2 inches.
The height is identical to the width of the platform. Fasten with a 1-1/8-inch bolt. Angle brackets on all sides Use the fulcrum to get an appropriate angle and secure it to the base or fix the bracket.
Related: How to Bore a Cylinder With a Drill Press?
5. Make a Dust Channel for Accurate Drilling

As a tool, sawdust accumulates between the fence and the work surface, preventing it from being placed on the fence during drilling. Cut 1/2 in. 1/4″ x 1/4″ Put rabbits around fence edges to prevent dust from getting out. If you clamp stops to a fence, leave 1/4 inch over the tabletop. 12/15.
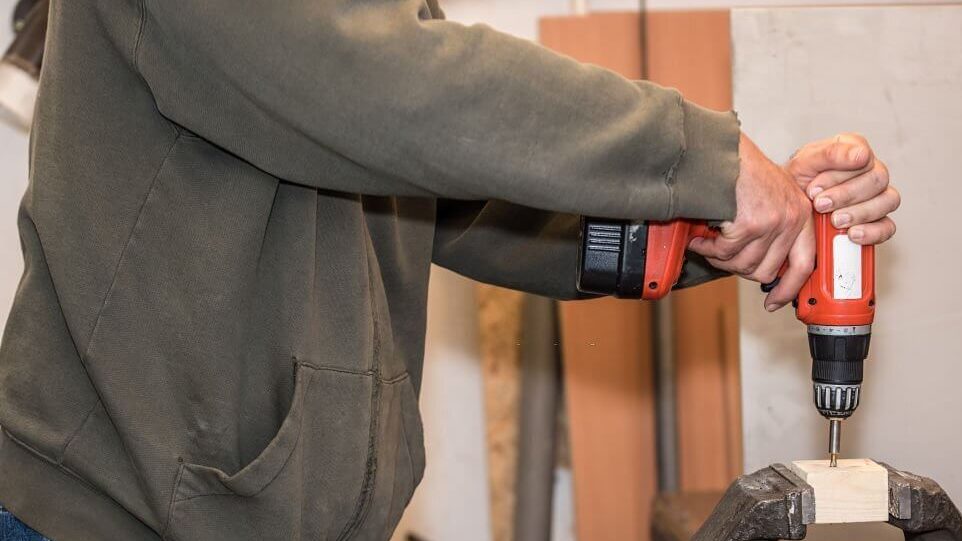
6. Securely Clamp the Workpiece and/or the Drill
Install a clamp in the machine with one vice. Here are short videos that will show you the way.
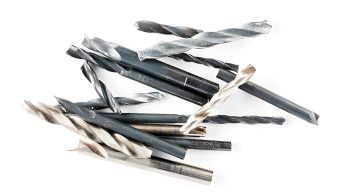
7. Drill Bit Organization
Drilling is extremely hard. The heavier you have to add, the better the stability. For my bench-drill press the weight was just 20 lbs. They can be bought inexpensively from garage sales or flea markets.
For my floor model, I installed steel tools in the base. So I can carry a lot of weight on my drill bits and organize them according to their different positions.
Use a Drill Press Step by Step FAQs
What are 5 Important Rules for a Drill Press?
Regulatory requirements in the field of drilling press safety. Run the drill at the right RPMs for the drill diameters for the material.
Keep work securely attached to the vise. Use the correct drilled bits. Use the appropriate cut material. Remove the chip with a brush.
What are the 3 Rules for Drill Press?
Do not wear loose shoes, wear your long hair. Bits or spindles catch this item. Never change any drill press configuration during operation. Never leave the chuck keys on.
Conclusion!
Using a drill press can provide incredible precision, aiding in any of your projects. Whether you need to make small holes with great accuracy or drill through a tough material, having the right tool ensures that the job gets done quickly and efficiently.
A drill press is an invaluable tool for any woodworker or hobbyist and can add value to every project.
Take a look at our recommendations to find what type of drill press best meets your needs. If you’re looking for more information, numerous online resources offer additional tips on using a drill press, along with instructional videos to get you started!
Ultimately, the more familiar and comfortable you become with working with your particular drill press model and style, the better off you’ll be when creating amazing projects.